Different Types of Wall Textures And How to Create Them
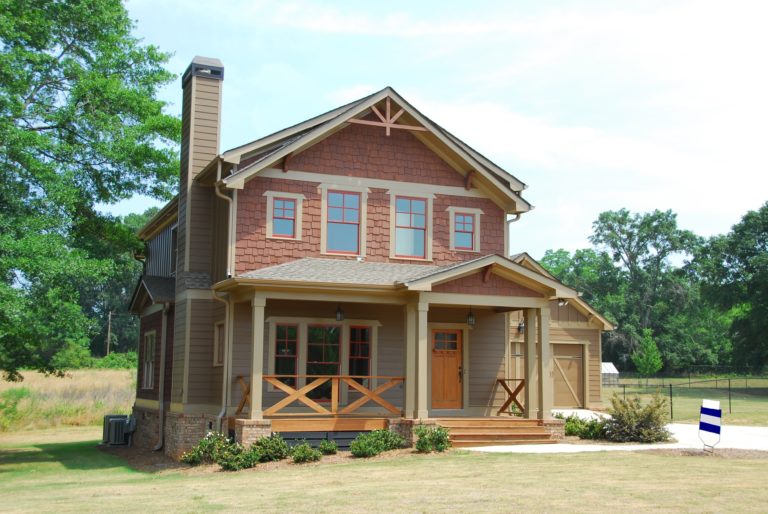
Modern interior designs have been leaning on the side of walls that are completely flat and blank. These types of interiors rely on the color scheme of the walls in order to really create the feeling of bringing a room together. If you wanted to go a step further, then you would probably want to make use of textured walls. These textured walls have the ability to do what colors simply cannot achieve by themselves. Another huge advantage of textured walls is that they can also help to hide any architectural flaws that the house may have. This can potentially save you a lot of money down the road as you can just simply allow walls that are uneven to just fade into the textures that you have created on your walls.
If you are the sort of person who thinks that getting textured walls or textured tiles required getting professional help, then you ought to think again. While it is true that you ought to do some practice runs before you texture a wall in your home, the fact of the matter is that the techniques involved are not at all that complicated. Let us take a closer look at some of the more popular types of wall textures and the techniques involved in achieving them.
1. Comb
This type of texture on walls is normally produced using some technique that can create lines that are of different widths and also shapes in a compound of drywall. This technique is utilized quite frequently when there is a need to produce patterns of the rainbow on drywalls that are going to be repeated and it is also one of the more simple and uncomplicated methods of texturing walls.
In order to pull this off method, you will need to get a few things. First of all, you will need compounds of drywall, then you will also need a roller and a trowel of drywall which has teeth that are spaced evenly. You can even go for the ones with teeth that are not even if you want to achieve a pattern that is a bit more unorthodox. First, you need to apply the compounds of drywall onto the walls by making use of the roller. Then you need to use the teeth in order to gently apply the lines to the compound.
2. Popcorn
Ceilings that resembled popcorn were a major hit in the 70s and they can be still seen today in numerous homes. The main reason why this particular texture of walls is so popular is down to the fact that these types of walls are extremely adept at hiding any imperfections that they might have. Another huge advantage of this technique is that can really help absorb all the sounds between the floors and the walls. The best part about this technique however is completely different, though. The best thing about this technique is that it is extremely easy to pull off by yourself and it is also very easy on the pockets of homeowners as well.
You are only going to need the popcorn texture, an air compressor, and also the hopper gun, which you can probably just borrow from your nearest Home Depot. This texture is achieved by making a mix of drywall mud and the chemical, polystyrene. These things normally come in the very traditional white color. Therefore, it will probably be a very good idea to prime the surface before you go to town on it.
3. Orange Peel
These types of textures look exactly like what you would expect them to look like, they very closely resemble the peels of oranges. One thing that must be made sure of before it can be applied on walls or ceilings or any surface, is to make sure that the surface has been properly primed. This will make sure that the texture that you are trying to achieve is one that has a completely smooth and also a dirt-free surface on which it will stick to.
In order to successfully pull off this technique, you will need to get a hopper gun that has a valve that is air-adjustable. You will also need an air compressor and finally, a compound of drywall. First of all, make sure that you mix the drywall compound with enough water. The consistency that you are going for here is that of a soup or a thick paint. You will also want to spray a bit of the mixture with the hopper gun onto a surface for testing purposes. The air valve should then be adjusted according to the pattern that you want to create.
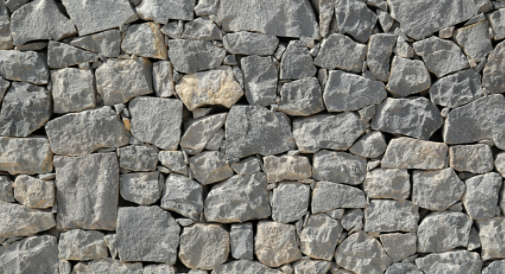
4. Knockdown
When you utilize the knockdown technique, what you essentially get is a pattern that is rustic and unique, very much like that of a stucco. This technique can be quite easily achieved with just one extra step added to the orange peel technique. After you have applied the orange peel texture to your chosen walls, go ahead and flatten all the bumps and peaks that have formed in the wall. This should be done with the help of a knife that is at least 18 inches in width.
Rooms that are smaller will require a small waiting period of about 10 to about 15 minutes after the spraying has been done. After these 15 minutes are up, you can go ahead and begin to flatten the texture. When the rooms are larger, you can start the flattening process just as soon as you have sprayed on the walls. Make sure that you flatten the texture in the same way that you painted it. Timing is of the essence here. If you begin the process too early, then the knife used for the knockdown effect can potentially leave lines on the texture you are trying to achieve.